Restaurant menu management: 5 ways Otter can help you manage and master your delivery menu
Everything you need to know about restaurant menu management
In the crowded world of food delivery apps, first impressions are everything. And let’s be honest, your customers most certainly judge a menu by its cover. The savvy restaurateur knows how important it is to keep their online menu optimised, updated, and eye-catching. But amidst the labour shortage, global supply chain issues, and overall restaurant grind, who has the time to spend hours on end updating menus?
Enter Otter’s new and improved Menu Management features. Our refreshed Menu Management solutions consolidate all your online menus across locations, brands, and platforms into a single place – empowering you to make updates and changes as needed, on the fly.
Think of Otter’s Menu Management solutions as your in-house menu consultant: a single source of expertise that helps you optimise and update your menu to ensure your restaurant performs its best. Otter’s new and improved Menu Management solutions will save you time and help you shine. How you ask? Let’s dig into the top 5 ways Otter’s Menu Management solutions can help your restaurant succeed in delivery.
5 ways Otter's Menu Management solution can help your restaurant succeed:
1. Manage all your menus in one place
Our Menu Management solutions empower you to update, edit or change your menu in one place. In addition to routine menu hygiene, you can rename menu items or categories, update pricing, and edit modifiers for individual items or entire categories if you want to experiment with something new.
You can also easily test new products, category descriptions, and imagery to see what works best for your restaurant. For example, if a specific menu item has been performing well on delivery platforms, you can reorganise your menu to bump it to the top. Or if something has been underperforming, you can push it to the bottom or delete it altogether. And suppose a specific category sees an influx of orders during a particular time of the week (think cocktails on the weekends, pancakes on Sunday mornings). In that case, you can organise your menu to have “drinks” or “pancakes” come up first. And lastly, when you need to change your digital storefront’s hours because of a rush, holiday, or other unforeseen circumstance, you can do that right from Otter too. With Otter’s Menu Management solutions, you’re in complete control of what you show your customers at any given time.
2. Set up multiple menus with Multi-Menus
Otter's Menu Management solution allows you to set up multiple menus for a single location. With this feature, you can set up specific menus for different times of the day or days of the week, ensuring that your customers only see breakfast, lunch, dinner, etc., at the appropriate times.
This flexibility could easily result in more orders for your restaurant by helping customers make quicker decisions about their purchases. The best part? You set up Multi-Menus directly within the Otter dashboard you know and love. With Otter's new Multi-Menu feature, seamlessly switch between menus, manage hours for each menu, and identify which menu items and modifiers you show and when they are shown.
3. Add and remove menu items with ease
Otter’s self-serve 86 feature allows you to edit the availability of a menu item so you can control if and when your customers can order a specific item.
If you’re thinking, “Why would I want to not allow customers to order a specific menu item?” Think about this familiar scenario. Say you’re a restaurant well known for your delicious chips and guacamole. You’ve been seeing many guacamole orders – so many that you breezed right through your avocado inventory. You’re out of avocados, and no avocados = no guacamole.
However, if guacamole is still listed on your menu, people are going to keep ordering it— oblivious to the avocado shortage you’re experiencing. If customer’s keep ordering guacamole, and you’re unable to fulfil those orders, you’re likely going to have to cancel – resulting in missed money & a sub-par customer experience. These are the scenarios we can help you easily avoid.
Otter’s self-serve 86 solution ensures your restaurant will never have that problem again. Simply navigate to the Items tab, check on the status of each item, and ensure what’s reflected on your menu is reflective of what you’re able to fulfil at any given moment. If you have more than one location, it will show the item's availability for each location. Super helpful, right?
4. See which menu items are performing best:
Download the top-performing menu items report to understand which items are performing best. You can then strategically optimise your restaurant menu based on your customers' preferences and watch your sales skyrocket.
This tool also reveals potential updates you can make to your menu to get more orders. Maybe your cheeseburger isn’t ordered often on-premise. Still, it’s a favourite on delivery: why not edit your on-premise menu to offer a bacon cheeseburger, veggie burger, and other item variations? Maybe when summer arrives, the caesar salad is ordered more than the cheeseburger. No problem, you can easily adjust your menu as things change with a few simple clicks.
5. Audit your menu with our top tips
Make sure your menu is easy to navigate
Organise your menu into categories to help potential customers make good choices quickly. Your key categories should be mains, sides, drinks, desserts, and extras. Highlight your best-selling items at the top of your menu. Finally, by having a section with “bundles,” think a main, a side, and a drink, there’s a good chance that your average order size will increase. Pro tip: experts advise listing no more than seven categories on delivery apps.
Include add-on suggestions
Knowing and providing guidance for your customers is a great way to increase your average order size. For your “regulars,” recommend their usual order to ensure a seamless decision-making process. When it comes to new customers, you can prompt them with a “frequently ordered together” option at checkout to ensure that they get a full meal and you get a bigger average order size.
Offer modifications
In 2022, everyone knows someone with a unique dietary restriction, whether that’s based on preference, diet, or food allergies. Ensure your menu empowers your customers to personalise every dish so that you don’t lose a customer based on their diet (vegan, gluten-free, dairy-free, keto etc.) Making sure that a potential customer can personalise any dish is a surefire way to increase sales and satisfaction.
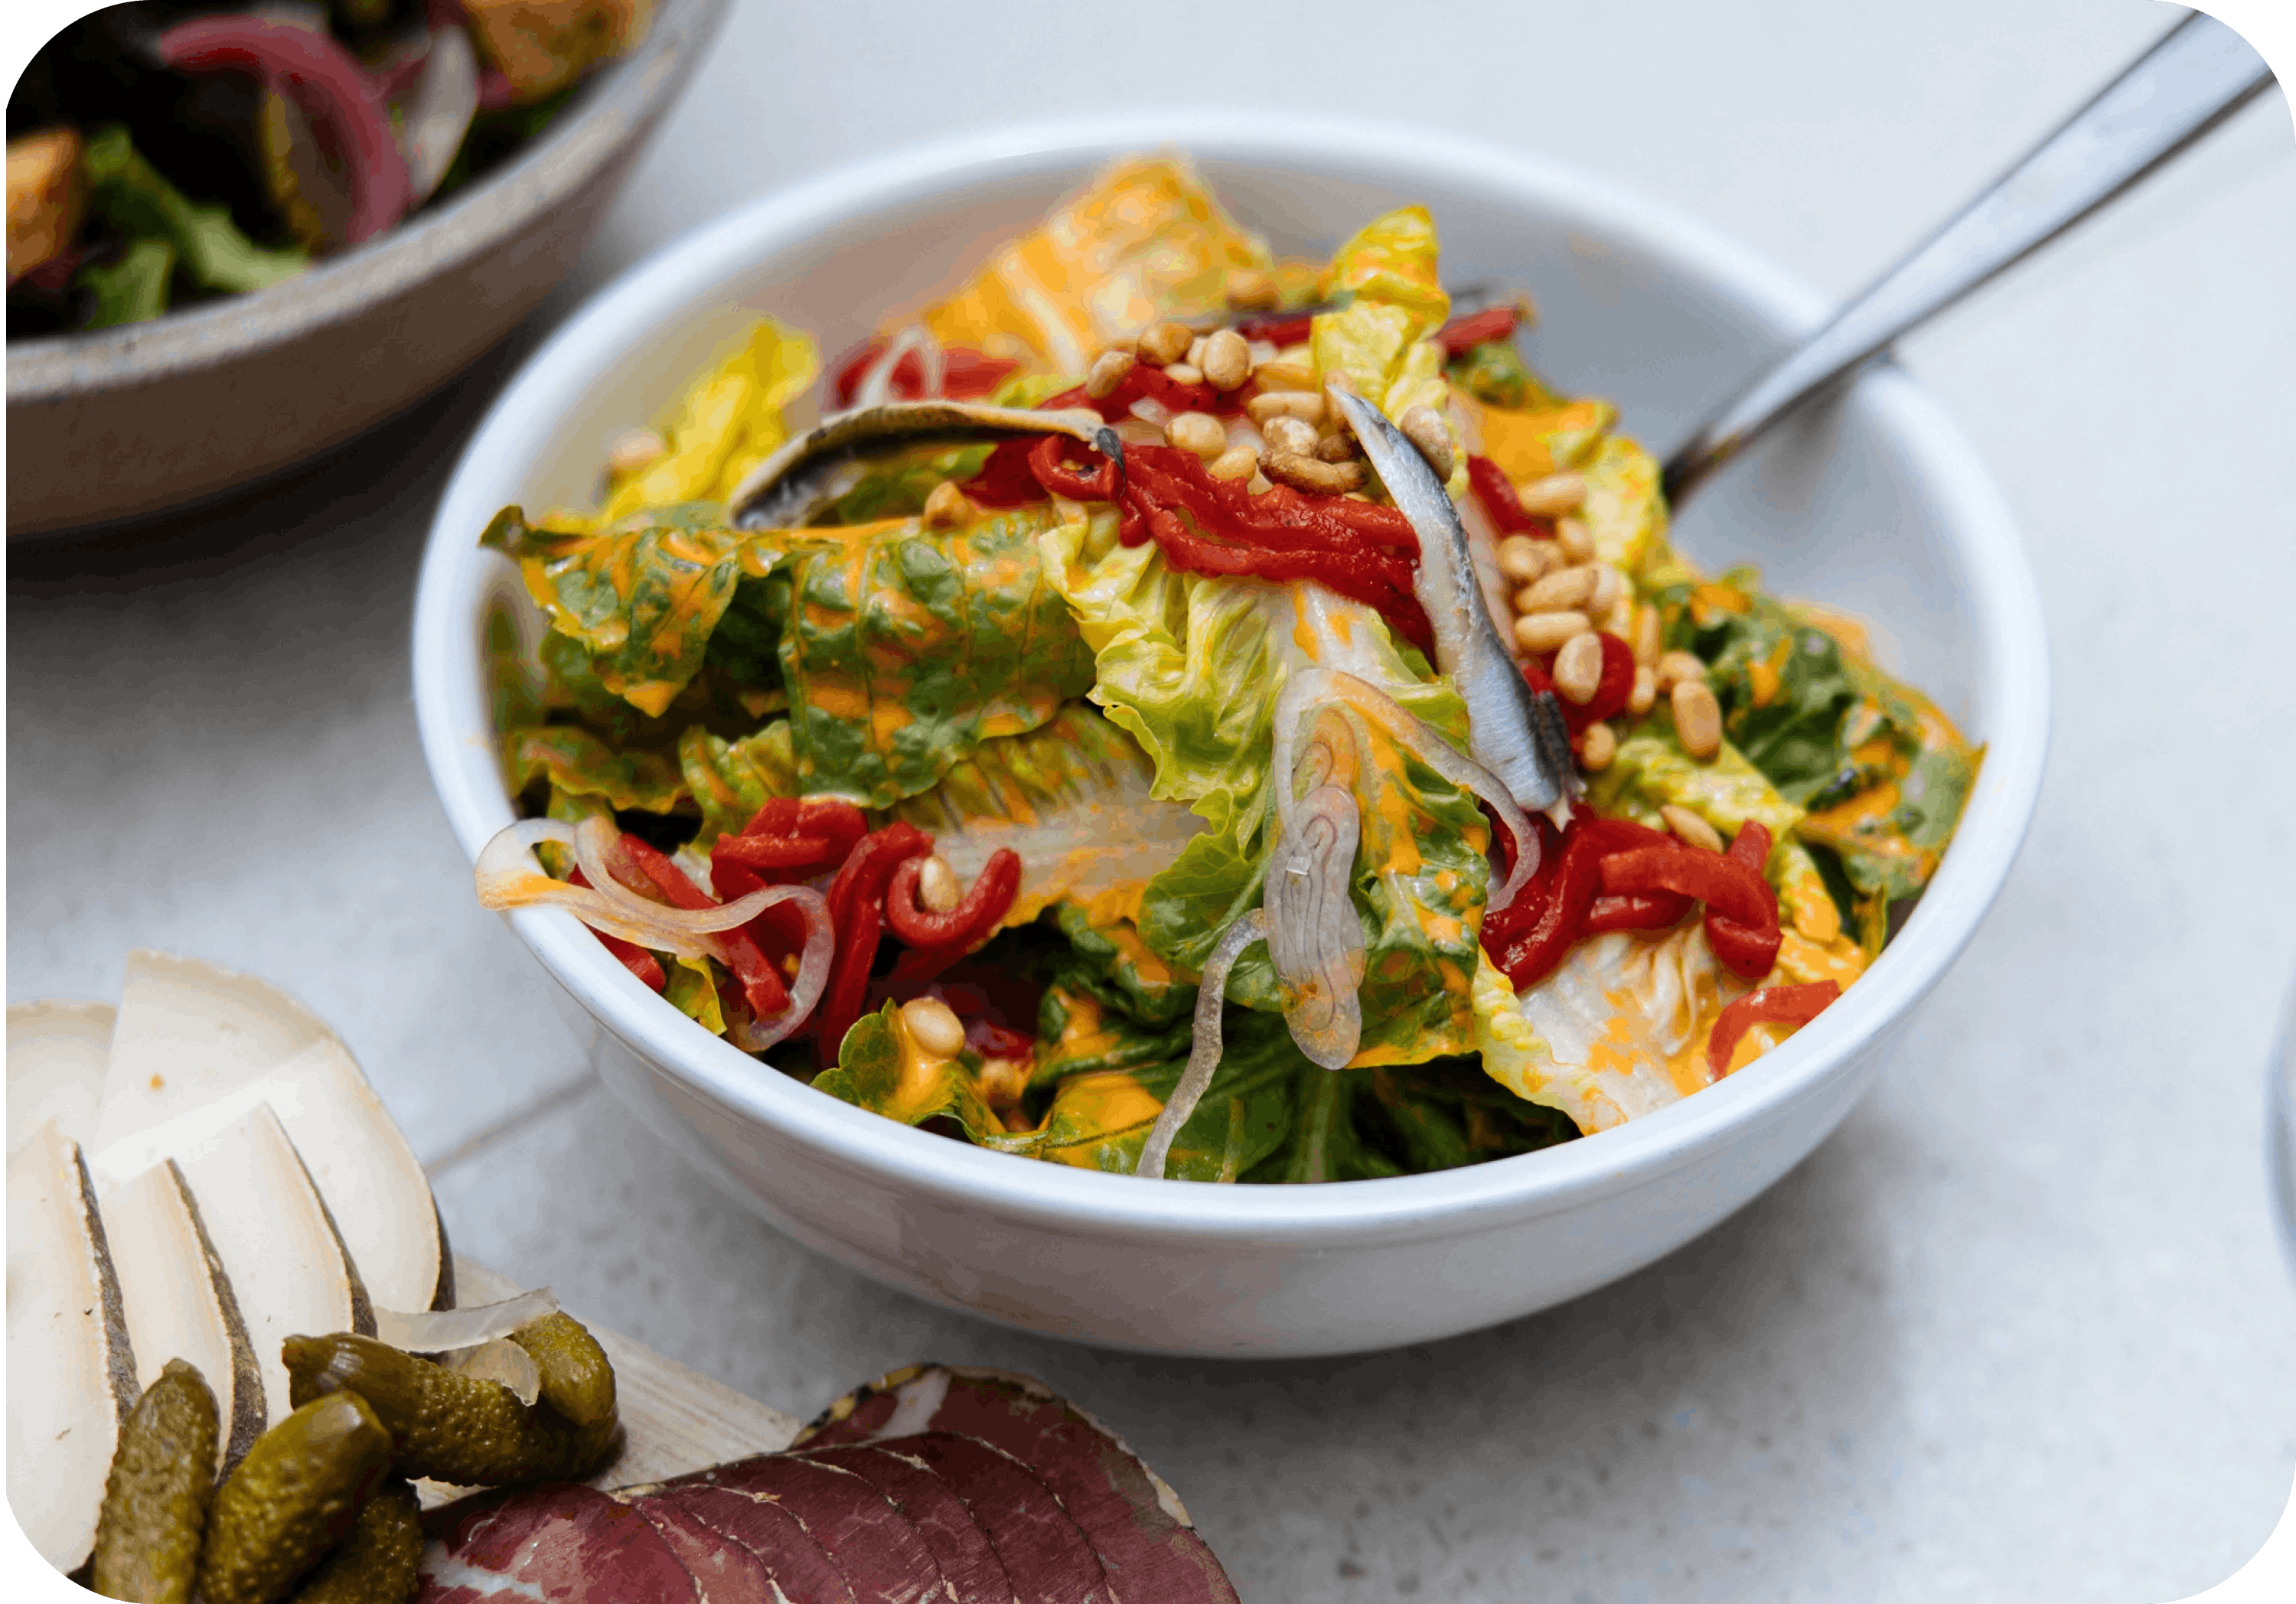
Differentiate from the competition with eye-catching food photography
When shooting food photography, working with natural light is best. Natural light ensures that your menu items look clear and real. If you notice that using natural light results in shadows on the food, don’t stress. Grab a white binder, white piece of paper, or even a white apron and hold it up to the table opposite the window.
The white background bounces the light from the window back onto your plate, filling in shadows and making the item look a bit brighter. For consistency, make sure to set a reminder to shoot every round of food photography at the same time.
If you’re shooting on a smartphone, the three-quarter angle that many food photographers use could result in the menu item looking distorted. Shooting overhead is the best way to get an accurate image of your food on a smartphone.
Use a bright, unique background:
Delivery platforms are full of stimulation - endless logos, delicious food, and bright colors. One shortcut to standing out on delivery platforms is using a consistent, bright base colour. Before shooting your food on a white tablecloth or wooden table, think about your logo - is your key colour green? Red? Blue? Take note of your brand’s colour palette.
Then, scroll through a delivery platform to see what colours your competitors' highlight. If your primary colour is green— and your biggest competitor also uses green—perhaps opt for one of your secondary colours or a contrasting colour instead. From there, find a tablecloth in that shade - if you don’t have a tablecloth, a large sheet of paper works too. Utilising a consistent base colour helps your brand stay consistent and stand out from competitors.
Include item descriptions
Did you know that well-written descriptions can increase restaurant sales by up to 30%? Having mouthwatering descriptions might literally induce cravings in your customers - leading to increased orders and sales for your restaurant.
Remember that your customers have most likely been perusing the app for some time, so keep your descriptions short and sweet while ensuring they’re realistic and clear. Be transparent about what’s in each dish is one way to avoid poor reviews.
Increase delivery orders with promotions and freebies
Increase delivery orders with promotions and freebies. Including promotions on your menu is a great incentive for more customers to order from your restaurant.
In addition to serving as an incentive for new customers to order from you rather than one of your competitors, running promotions on food delivery apps can actually help boost your chances of showing up on the front page of each app.
If you made it this far, you’re well-equipped to master the art of the menu! Let’s recap what you can do with Otter’s Menu Management solutions:
- Import a menu directly from an existing platform
- Create a new menu from scratch
- Easily test new products, categories or photos
- Select which location will have which menu
- Add and remove menu items
- Change prices per platform
- Add photos and descriptions on your menu items
- Create modifier groups and connect them to your items and categories
- Add and delete menus
- Add tax per item, tags per item and cuisine type
- Preview your menu before updating it in the platforms
- Push the menu to the platforms you work with*
- Control your menu immediately without intermediaries
- Manage your items photos with Otters Photobank
If you’re already an Otter customer, you can get started with Menu Management today! Just follow these steps:
1. Go to https://manager.tryotter.com.
2. Input your user and password (email and password assigned by Otter).
3. Click on Menus on the side bar.
4. Click on Get Started.
5. Start creating your menu.
